
Adding Docker Container to BitssCloud Environment
BitssCloud implementation of Docker® standard on top of Virtuozzo containers provides the ability to create and manage all types of applications or services, that are available within the public Hub Registry or your own private registry, e.g. based on Quay Enterprise Registry (navigate to the BitssCloud & Docker packaging technology integration page to explore the details).
Tip: When you already have the required template deployed, you may be interested in extra possibilities the BitssCloud provides for its management, like:
- GUI assistant for the main configurations performing
- granted root permissions while accessing it via SSH
- updating the required container with the latest template version in one click
- automatic horizontal scaling of the appropriate environment layer based on the received load
- tracking incoming load for different types of consumed resources through receiving the corresponding notifications via email
Environment Wizard
1. Access the Environment Topology wizard by means of selecting the New environment button at the top-left dashboard’s corner.

Switch to the Docker tab at the top of the wizard. Inside, you’ll find a number of blocks with different layer names to the left, where each of them provides an ability to select a Docker image with the required software and create a container based on it.
You can add containers to any of the sections or several of them in order to divide and structurize the topology according to your needs.
Thus switch to the required layer and proceed with the Select Container button.2. In the opened Select Container frame, you’ll see a few tabs:
- optional Quick Start with a set of most popular templates according to the layer chosen (this tab may be absent depending on your hosting service provider settings)
- Search, which allows finding the desired template at the central Hub Registry
- Custom, where you can add your own template from the custom Docker registry
- Favorite, where you can store the images you’ve liked and which you presume to use in future
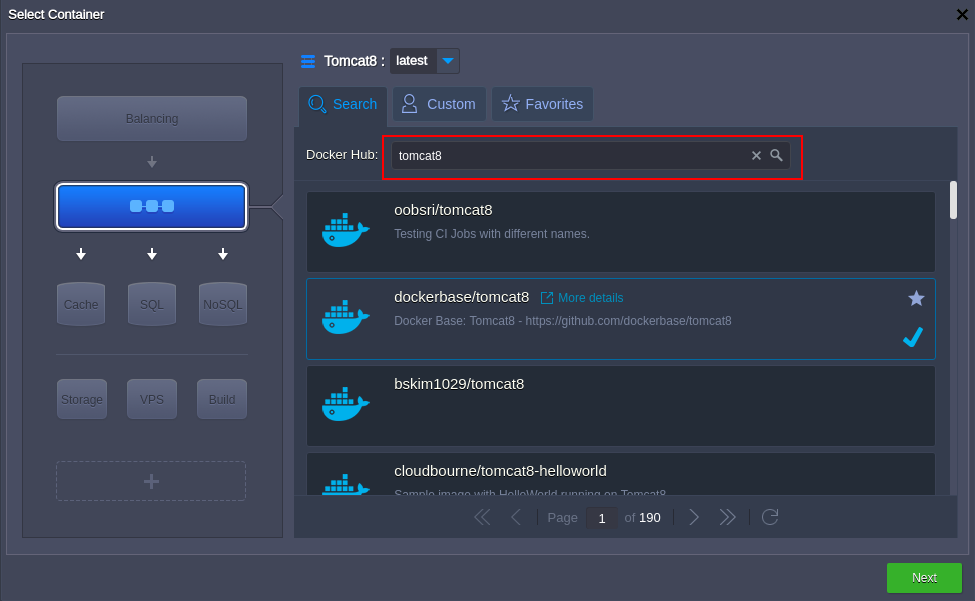
As an example, let’s use the search via the official Hub Registry – navigate to the same-named tab, type the full or part of the required name to the input field (e.g. BitssCloud), and hit Enter. After being shown the list of results, simply click on the preferred template to add it to the chosen layer (it will be marked with a tick and become highlighted).
The necessary tag can be selected within the drop-down list next to the image name at the upper part of the frame.
Tip: Hovering over a particular image will expand the plank with a few supplementary functions:

Here, clicking on the More details string will open a separate browser tab with the corresponding repository page at Hub Registry.And the star sign in the top right corner can be used for marking an image as Favorite, so it will be permanently stored within the same-named tab to become easily accessible (just in the same way, it can be unticked for being removed from this list).
You can choose a single template per each layer, thus, if you’d like to change the picked image – just click on another one and confirm the replacement. Also, you can instantly switch between layer sections at the left pane to add any other container and customize your environment topology.
In case you need to add multiple different templates at once, use the Extra wizard block(s), where each of them will represent a separate independent environment layer:
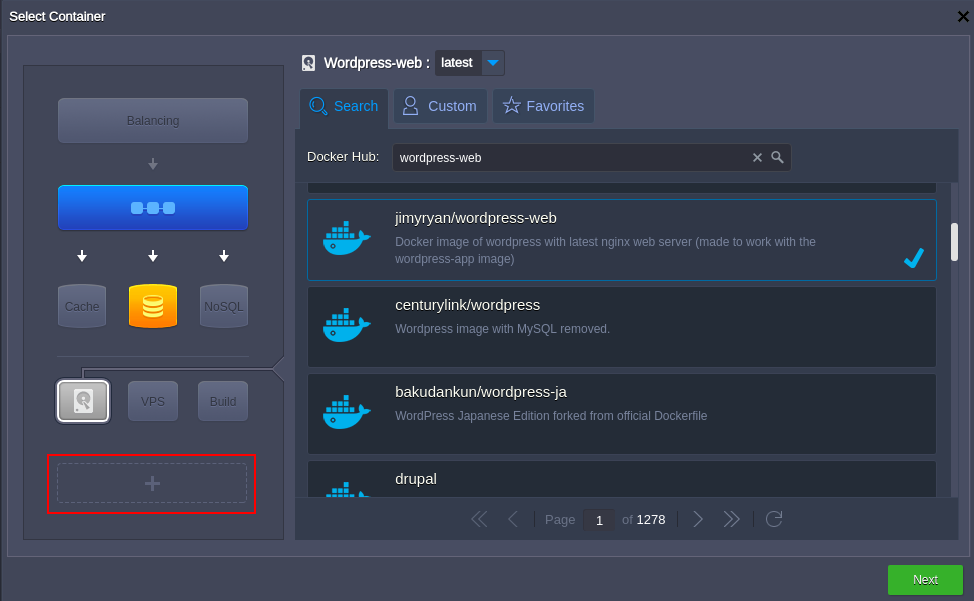
Add as many blocks with images as you need by clicking on the + button and choosing the necessary template using the board to the right.
Click the Next button after you’ve finished composing.
3. Once you are back at the wizard with all the required Docker nodes added, you can start configuring and managing them:
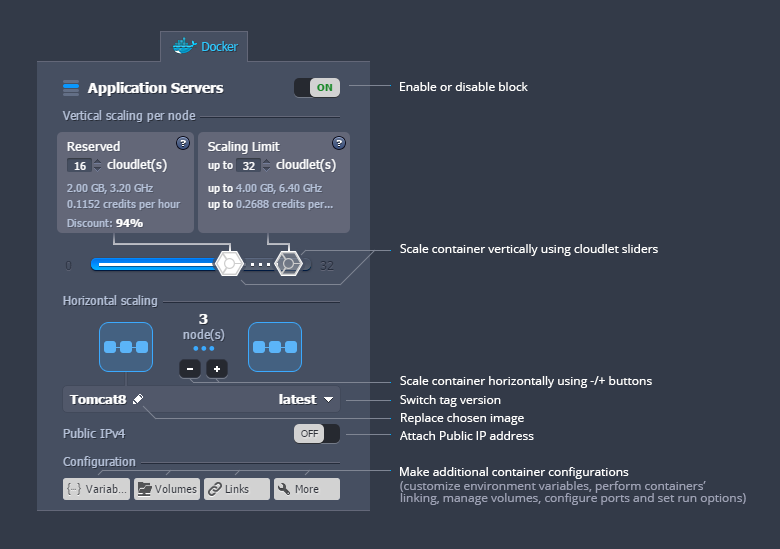
For more information on Docker nodes Сonfigurations (available within the same-named section at the bottom of the wizard), read the Docker Container Configuration guide. Besides, you are able to manage the required settings even before an image is deployed – all the required data is automatically fetched upon accessing the appropriate settings section.
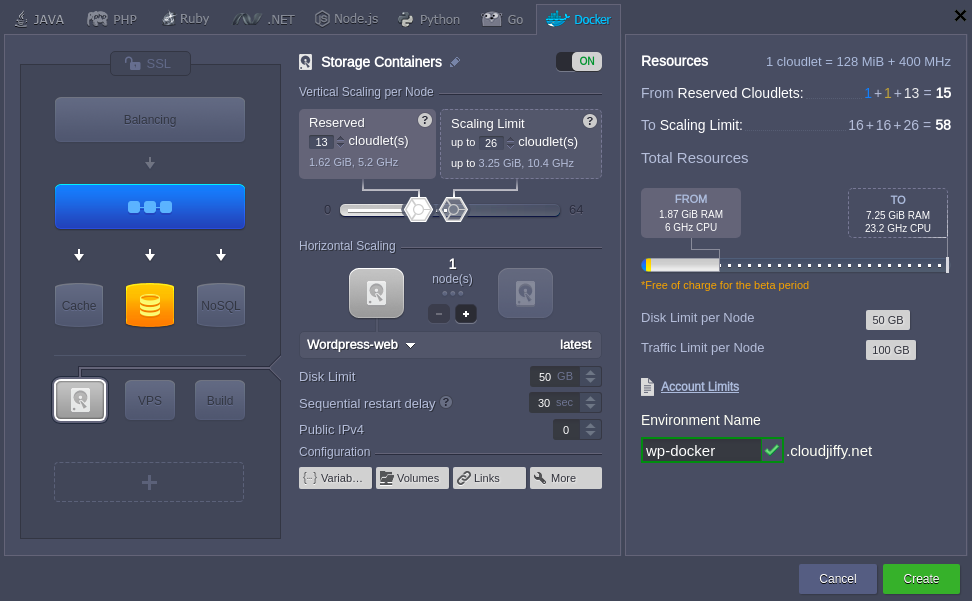
As soon as configurations are done, type the desired name for your environment, e.g. my-docker-env, to receive the similar one (we’ve added two more containers with BitssCloud templates to other layer sections):
Tip:
- any Docker environment layer can be scaled horizontally with the Multi Nodes feature; moreover, you can configure this for being performed automatically based on incoming load or define it to get the appropriate load alerts via email
- if adding an image to the Application Server and/or Balancing layer, the whole environment will be automatically complemented with its own entry point (i.e. domain name) for being accessible over Shared LB
- enabling the Public IP option for the frontend container (i.e. which is intended to serve the requests, sent to the common environment domain) allows using custom domain names for your Dockerized apps and swapping them
Now click on the Create button at the bottom of the wizard to initiate the environment creation.
Marketplace
1. Click the Marketplace button at the top of your dashboard.

2. In the opened section, switch to the Containers board, where you’ll see a few tabs:
- optional Quick Start with a set of most popular templates (this tab may be absent depending on your hosting service provider settings)
- Search, which allows finding the desired template at the central Hub Registry
- Custom, where you can add your own template from the custom Docker registry
- Favorite, where you can store the images you’ve liked and which you presume to use in future
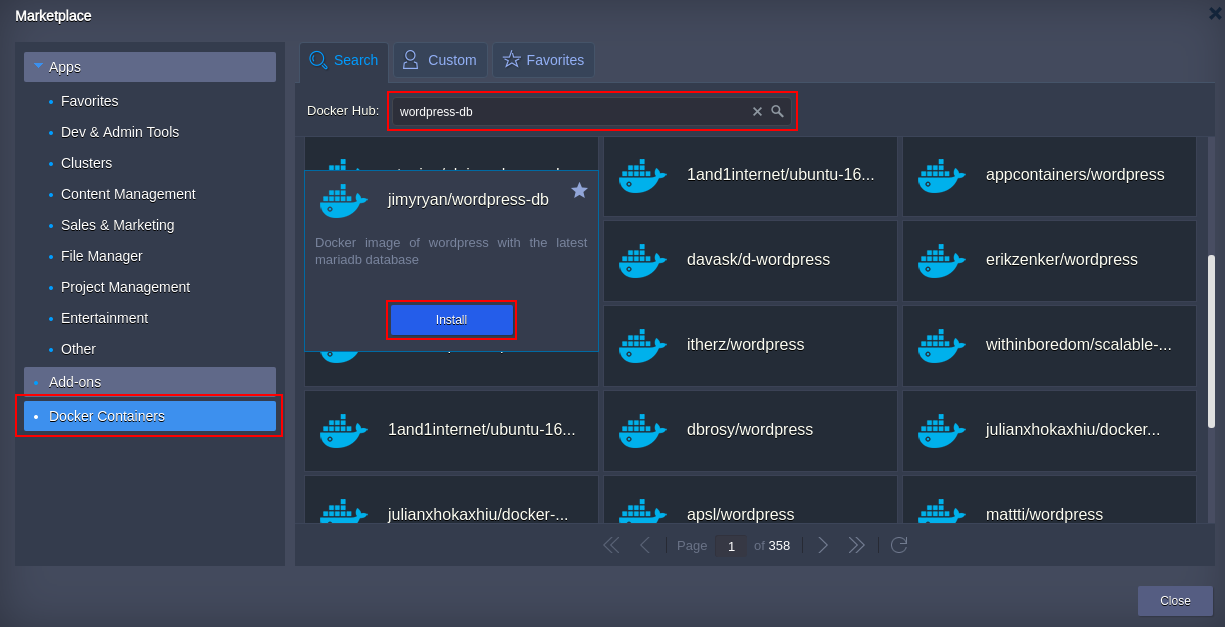
Let’s use the Search tab to find the desired image among the ones, available within the official registry – just type its name (or part of it) to the input field and you’ll see the list of the closest results. Hovering over the particular template will show the additional information on it (if available) and the Install button, which should be clicked in order to choose this template.3. In the opened window, select the type of installation – either new or existing environment:
- in case of new environment creation, you need to set a unique name for it and define the Region it will be placed at
- for an existing one, just choose the desired Docker-based environment from the list of available ones
Don’t forget to select the correct Tag for your container from the appropriate list.
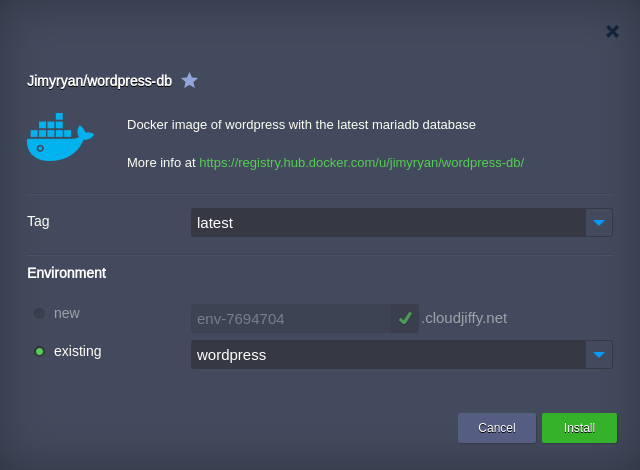
For this example, we’ll add the WP DB template to the already created BitssCloud/WordPress-web one (as together they can run this powerful web application). Click Install, when ready.
4. Wait until BitssCloud automatically adds the container with the chosen Docker template inside specified environment (or creates a new one).
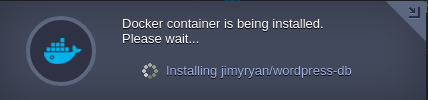
You can minimize this window and continue working with the dashboard, while the installation process is performed in the background.
Once the creation is completed, you’ll be shown the corresponding pop-up message
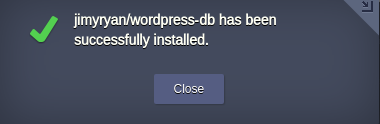
As a result, you’ll see your template is listed within the chosen/new environment.
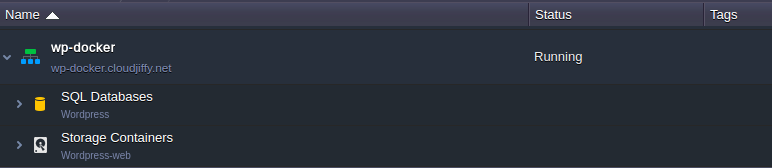
5. The pair of containers from above will constitute an incredibly powerful WordPress CMS after performing a simple linking of the DB node to the web one under the DB alias (the Docker Links Configuration document will help you in case you have any questions on this) and restarting the WordPress-web container.