
MongoDB Java Connection
Java Connection to MongoDB
MongoDB is one of the most popular NoSQL databases, which can be easily used within the BitssCloud. In this guide, we’ll show you how to connect this instance with your app and perform some simple operations.
Create Environment
1. Log in to your BitssCloud account.
2. Create an environment with a MongoDB instance (available within the NoSQL section). The preferred application server for your app to be deployed to can be located in the same or separate environment (as an example, we’ve added Tomcat 7):
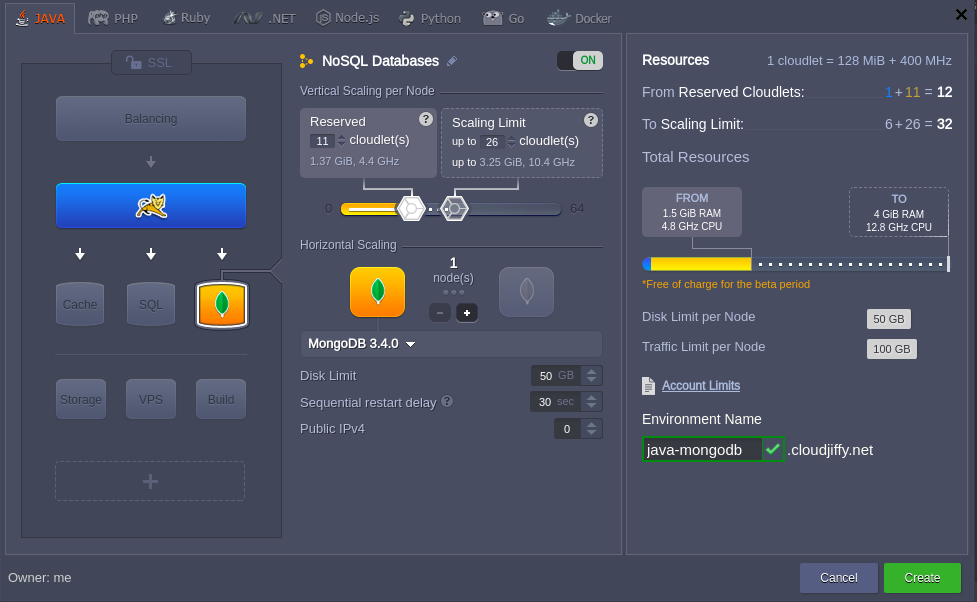
Click Create and wait a couple of minutes for your environment to appear at the dashboard.
MongoDB Configurations
1. Check your email inbox – it should contain a message from Robot@BitssCloudwith the database details:
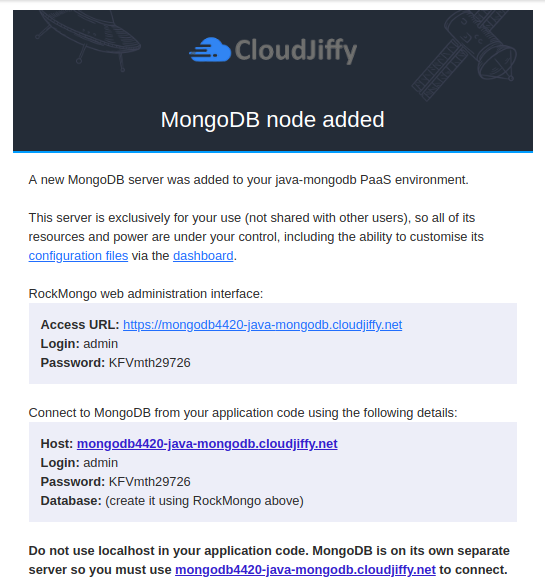
2. Click the Open in browser button for the MongoDB node within your dashboard or use the Access URL from the email to access the database admin panel.
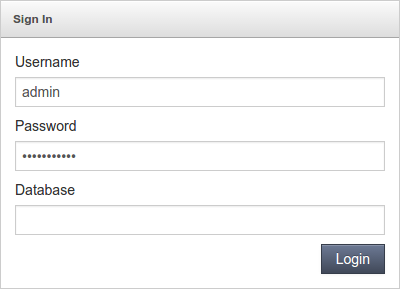
Log in using the abovementioned credentials.
3. Create a new database by switching to the Databases tab and typing a Name for it (e.g. MongoDB-connect) within the Create Database form.
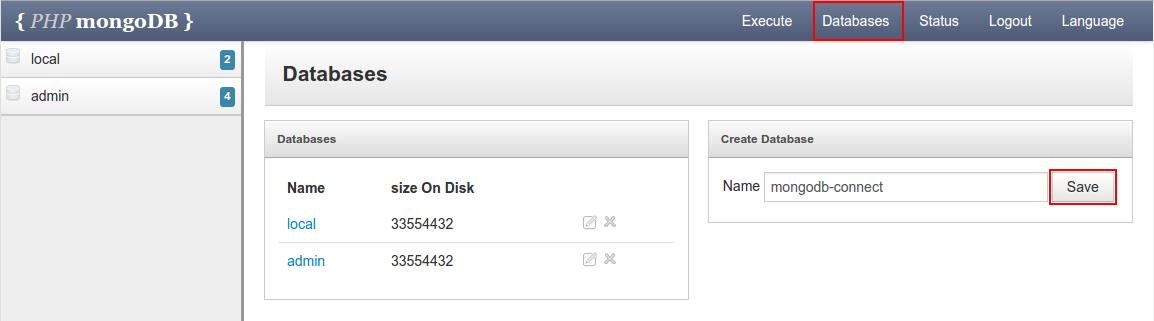
Click Save to continue.
4. Next, you need to create a user for this DB – thus, navigate to the Execute tab and choose your newly created database via the corresponding drop-down list.
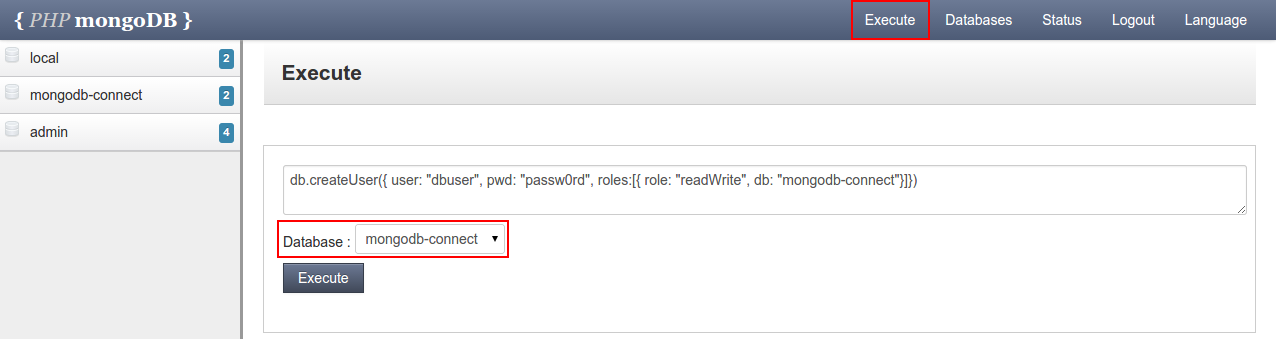
Then type the following command within the input frame above:
db.createUser({ user: “user_name”, pwd: “password”, roles:[{ role: “readWrite”, db: “db_name”}]})
where
- user_name – the desired name of your new DB user
- password – password for this user
- db_name – the name of the database the newly created user will get the read/write permissions for
After that, click the Execute button and wait for the success response.
5. Now, return to the dashboard and create a separate file for storing database-connection information. Note that you can specify all the required connection data directly in your code (application). In the given example we put these settings to the file, which is read by our test application (presented within the next guide section).
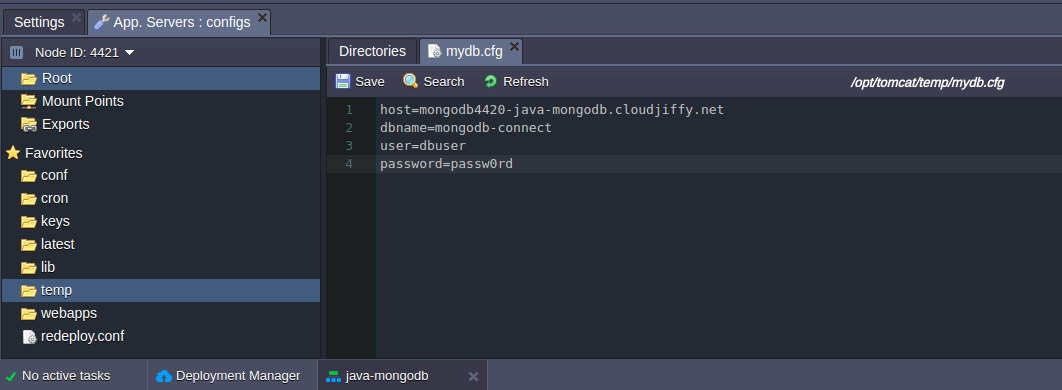
Click the Config button next to your application server in the corresponding environment (Tomcat 7 in our case).

In the opened tab, create a new mydb.cfg file inside the home directory and specify the following strings there: host={db_access_url}
dbname={db_name}
user={user_name}
password={password}
where
- {db_access_url} – link to the database admin panel (find it within the corresponding email or click Open in the browser next to your MongoDB node and copy it from the address bar) without https://part
- {db_name} – name of the created database (MongoDB-connect in our case)
- {user_name} – the name of the DB user you’ve assigned to this database (dbuser in our case)
- {password} – the corresponding user’s password
Do not forget to Save the changes.
Application Deployment
1. Now you can deploy your project to the prepared environment.
As an example, here is the code of our application, intended to test the connection to our MongoDB node.
MongoManager.java :
|
2. Any application can be deployed using either BitssCloud Deployment Manager (with a local file/URL as a source) or Maven (for deployment from GIT/SVN).
For testing, you can try our ready-to-use mongo client.war project, which already contains the appropriate connector driver (or download its sources and adjust it in any preferred way).

Note: To connect your own project to your MongoDB database, you need to upload the appropriate mongo-java-driver .jar library to the webapps/{app_context}/WEB-INF/lib folder of your app server with the deployed application.
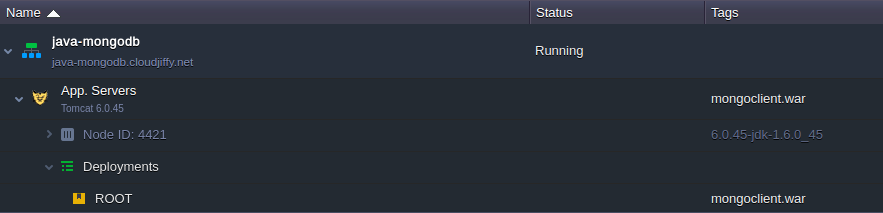
3. As a result, you’ll get an environment similar to the one below:
Connection Check-Up
1. Click Open in Browser next to your environment with our example app deployed. You’ll see a new window opened with the simple MongoDB Manager form shown.
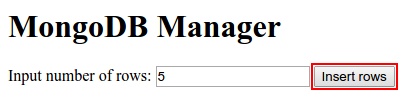
Type the desired number of rows (for being added to the corresponding database) into the appropriate field and click the Insert rows button.
2. Wait a moment until the page stops updating and return to the MongoDB admin panel.
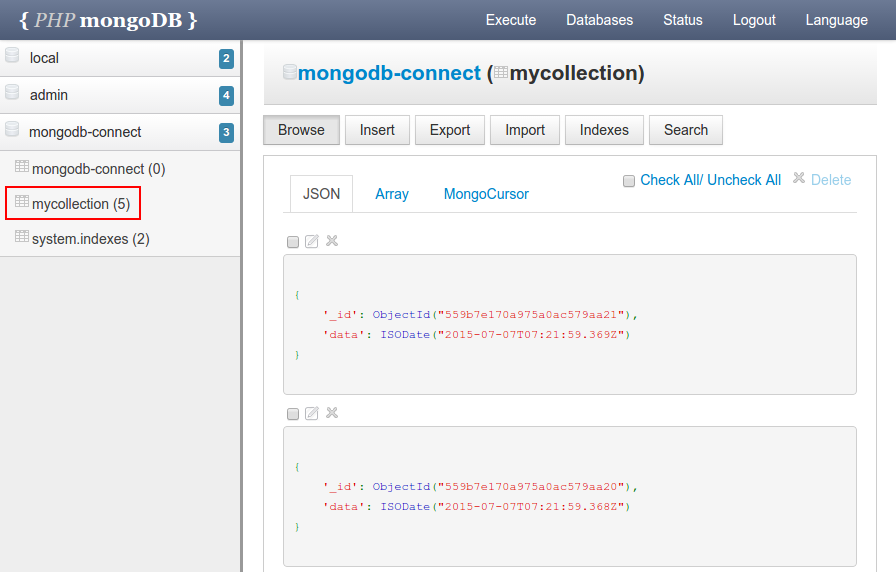
Navigate to the mongodb-connect database within the list to the left and check for the new my-collection inside – it should include the above-stated amount of records, 5 in our case.
As you can see, everything works fine, as an application could connect to our DB. Now you can use the admin panel to perform any other required operations to your database in a similar way.