
MySQL Java Connection
Java Connection to MySQL
MySQL is a highly popular open-source database, used by developers all over the world. In this instruction, we’ll show you how to connect your Java application, hosted within BitssCloud, to this DB server.
1. Log into your BitssCloud account.
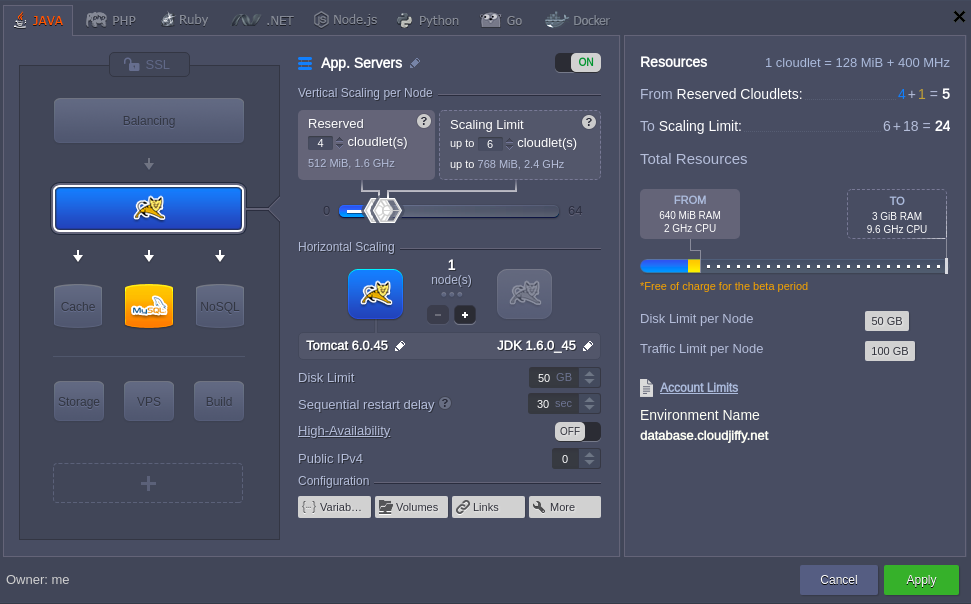
2. Create a new environment with the MySQL database server (available within the SQL wizard section):
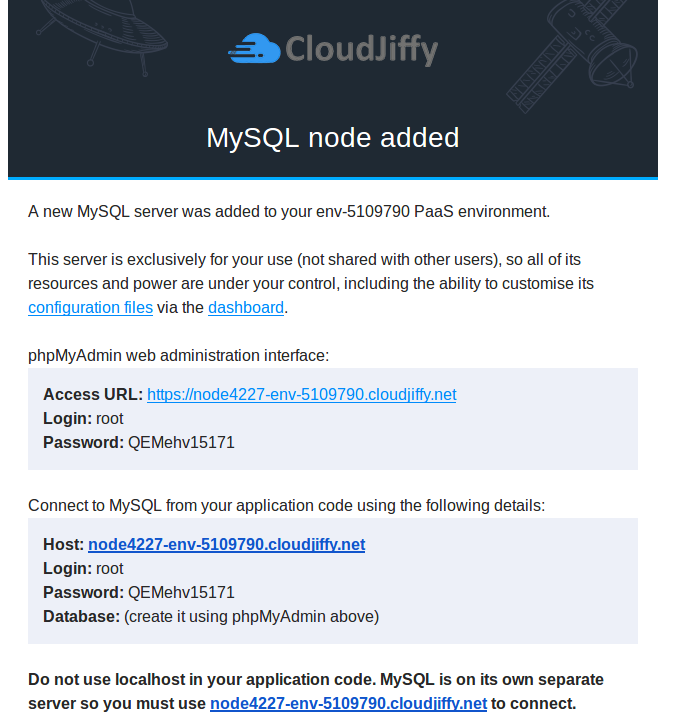
3. Check your email inbox – it should contain a message from Robot@jelastic with administration details for the created MySQL server (access URL, login and password):
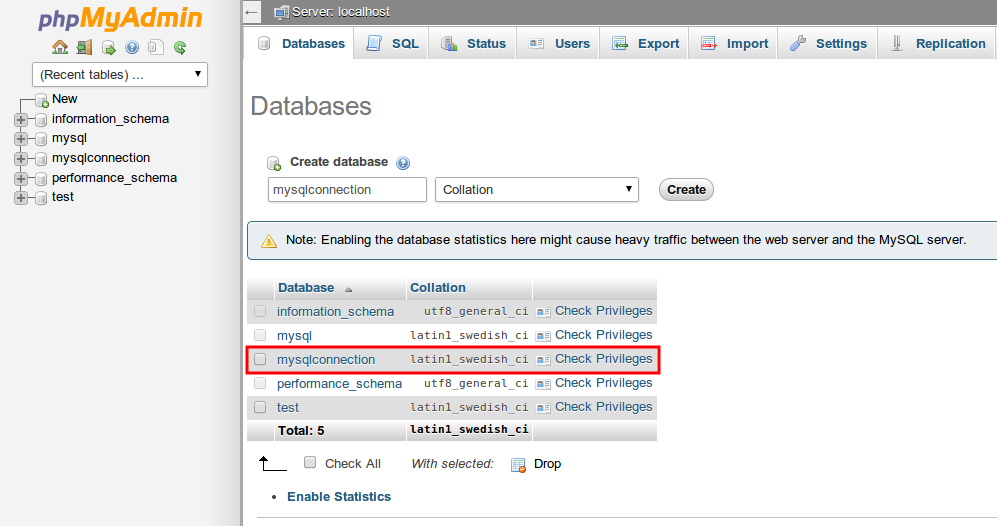
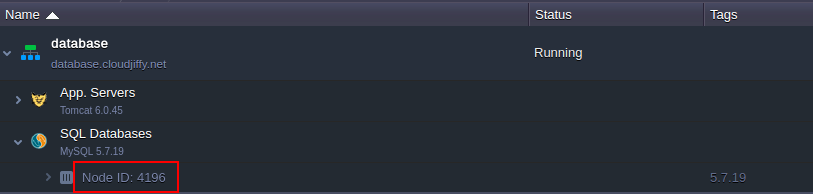
4. Switch back to the dashboard and click the Open in browser button for your MySQL node. Log in to the opened admin panel using the abovementioned credentials and create a new database (for example, mysqlconnection).
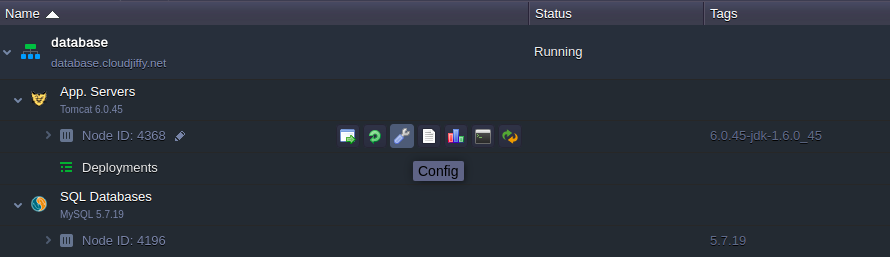
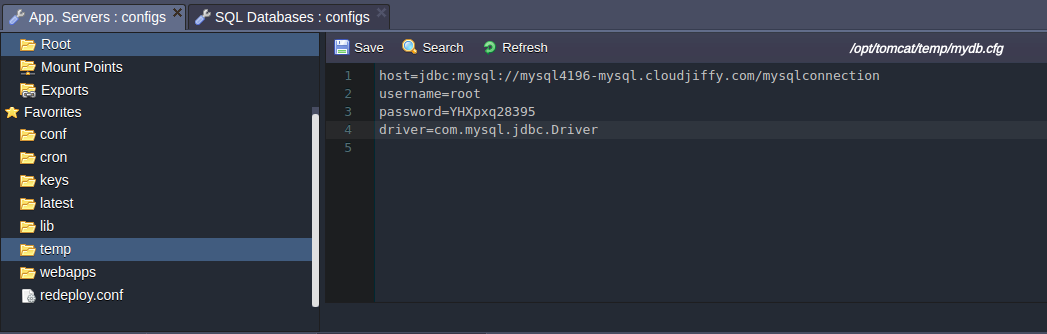
5. Then, click the Config button next to the application server (Tomcat 7 in our case) in the expandable environment’s nodes list.
6. In the opened tab, create a new mydb.cfg file inside the /opt/tomcat/temp folder and add the following MySQL connection strings there:host=jdbc:mysql://{mysql_node_id}-{your_env_name}.{hoster_domain}/{db_name}
username={get it in the email from BitssCloud}
password={get it in the email from BitssCloud}
driver=com.mysql.jdbc.Driver
where {node_id} – ID of the container with MySQL server you want to receive the access to. It can be seen at the dashboard (4227 in our case).
In such a way, the required settings for the MySQL environment, used in this instruction, will look like at the image below.
| Note: To connect the MySQL database to your project, you can mention all the required connecting settings in your code (application) apparently. In the given example we put all the settings to the file, which is read by our application. |
7. As an example, here you can see the code of our application, which connects to our MySQL node.DbManager.java 😕
|
8. Next, upload the .war file of your project to the BitssCloud Deployment Manager. As an example, we’ll use the dbconnexample.war file which contains the appropriate jdbc-connector.
| To connect your own project to a MySQL node, you need to upload the jdbc-connector jar file to the web apps/{app_context}/WEB-INF/lib folder of your BitssCloud environment with your application deployed. |

9. Deploy the uploaded WAR file to the environment.

10. Now you can click Open in browser next to your application server (Tomcat 7 in our case).
works fine, click Open in browser next to your MySQL node and navigate to the previously created mysqlconnection database in the opened admin panel. You’ll see the new example table appeared in it, which means the DB has been successfully accessed from the deployed Java application.

It’s that simple!