
PostgreSQL Database Replication
Database Replication with PostgreSQL 9
Replication is a basic technology for any database server because downtime or data loss can result in reducing accessibility, productivity and product confidence. Using data replication from a master server to one or more standbys decreases the possibility of any data loss. With PostgreSQL, you can easily create a database cluster with one or more standby servers, which are ready to inherit and perform operations in case the master server fails.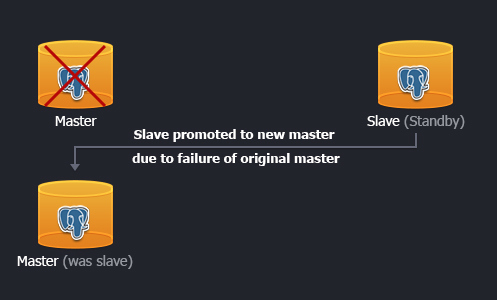
Using WAL (Write-Ahead Logging) data is the fastest available way of replication with a great performance, so-called asynchronous replication. In this case the master database server works in archiving mode just writing the data to the storage. While the standby database cluster operates in recovery mode, reading the master’s WAL files. These files are transferred to the standby DB promptly after writing is completed. In such a way, if the master server totally fails, the WAL content streams to the standby cluster with just a few seconds of delay.
So, let’s see how to get advantages of PostgreSQL database clustering and high availability by setting up the hot standby (or streaming) replication, i.e. asynchronous binary replication to one or more standbys, queried as a read-only databases.
You are able to set a DB cluster in a two ways:
- automatically (via one-click widget)
- manually (following the step-by-step instruction)
Manual Installation
If you prefer to configure the Master-Slave replication manually in order to get more slave replicators or specify some custom configurations, please, follow the instruction below.
Create Environments
At the very beginning let’s create two identical environments with PostgreSQL nodes: the first one for master DB and the second one for the standby.
Log into the BitssCloud dashboard.
Click the Create environment button in the top left corner of the dashboard. Then in the topology wizard select PostgreSQL 9 as the database you want to use and set the cloudlet limits for it. Enter the name for the environment with your master database and click Create.
It will take just a minute to create the environment. After that you’ll see a new environment with PostgreSQL database in the BitssCloud dashboard.
Create another environment with the PostgreSQL database in the same way as it is described above or you can just clone the already existing one.
| In case of using cloning for the second environment creation, credentials for admin access to the second DB will be the same as for the first one. |
PostgreSQL in the second environment will be your standby database, located on another hardware node. It is much more secure and reliable for storing your data.
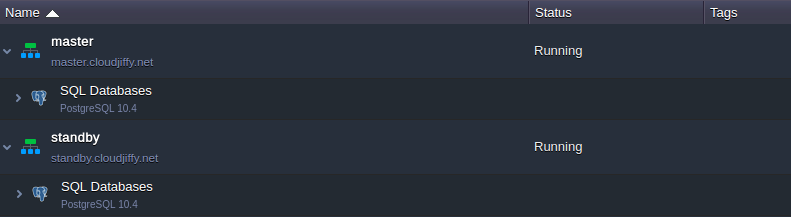
For now, you have two identical environments with a PostgreSQL database node in each one.
Configuring Master PostgreSQL
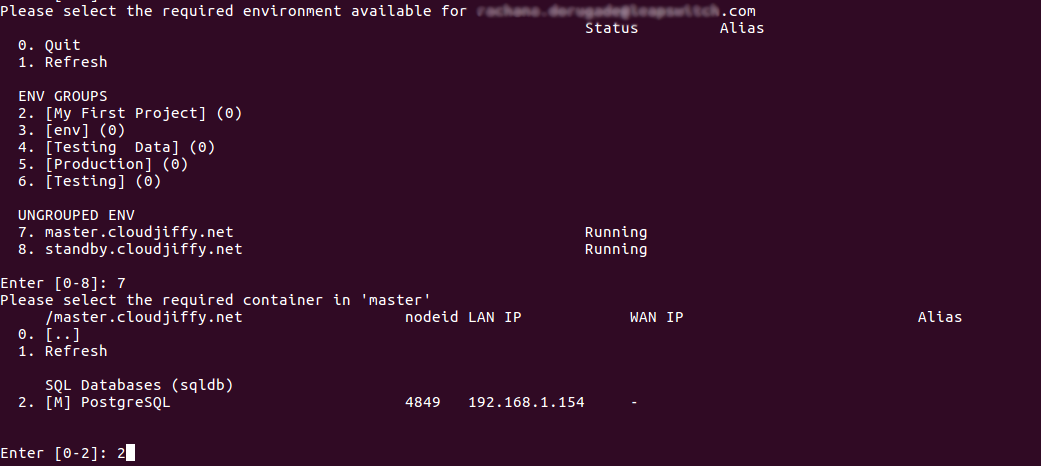
Find the environment with the master database in your environment list. Click the Config button next to the PostgreSQL node.
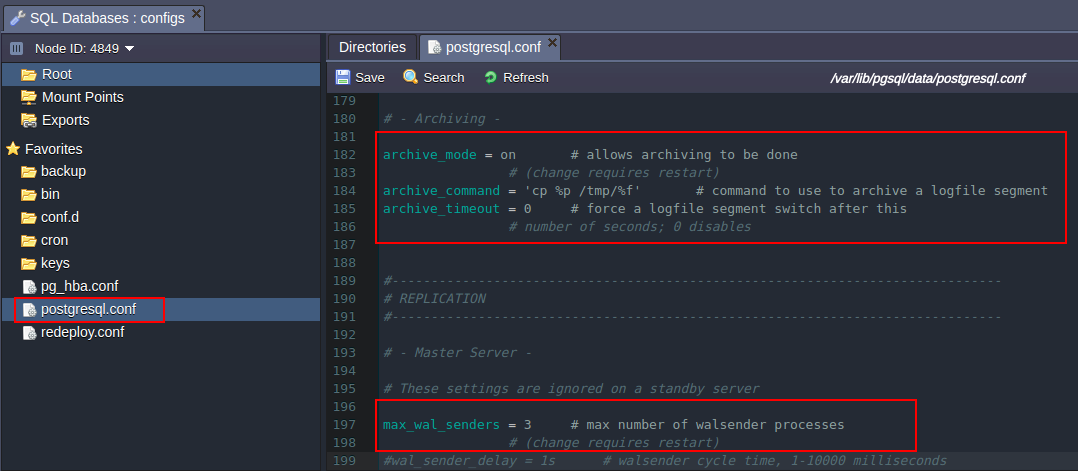
Open the conf directory and navigate to the postgresql.conf file. Find the following lines in the file, uncomment them, and specify the next settings’ values for enabling streaming replication:
wal_level = hot_standby
| Value in the max_wal_senders string depends on the amount of standby servers you are going to use. Stating 3means you can configure the replication of your master DB server to three standby DB servers. |
Press the Save button above the editor.
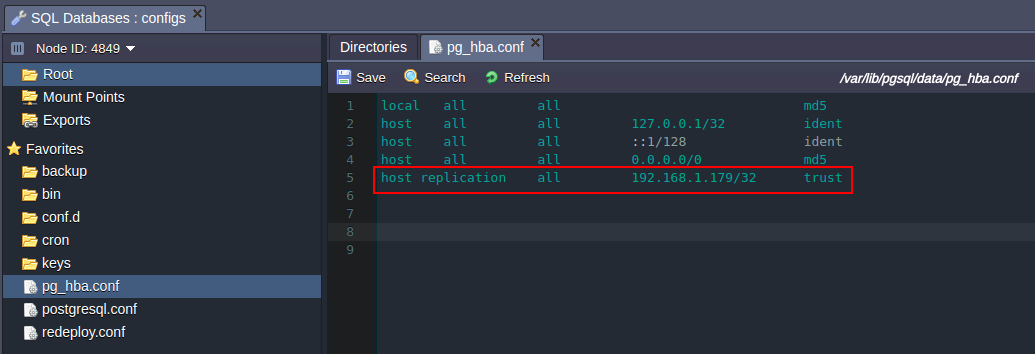
3. Open the pg_hba.conf configuration file, which is located in the same conf folder. Permit the standby database cluster connection by stating the following parameters: host replication all {standby_IP_address}/32 trust
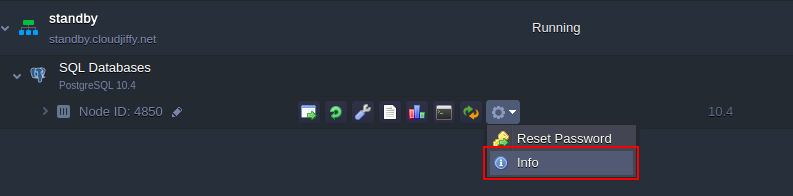
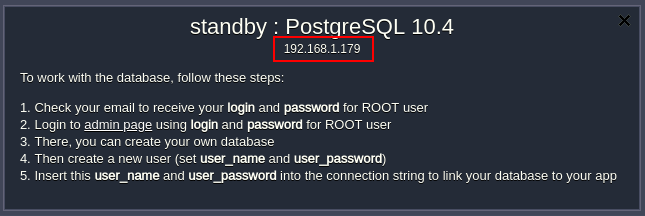
In order to get the IP address of any server, click the Info button next to it and copy the address in the opened frame:
Don’t forget to save the changes you’ve performed.
4. Now you should access your environment with master DB via SSH and enter the PostgreSQL container it contains.
| In the case you haven’t done similar operations before, you need to: generate an SSH keypairadd your public SSH key to the dashboard access your account via SSH protocol |
Once you’ve entered the container, stop it with the following command:
sudo service postgresql stop
Then execute the next line in order to delete the old WAL log file and simultaneously create a new empty one:
/usr/pgsql-9.3/bin/pg_resetxlog -f /var/lib/pgsql/data/
Finally, start the container:
sudo service postgresql start

That’s all for the master! Let’s proceed to the standby server’s configuration.
Configuring Standby PostgreSQL
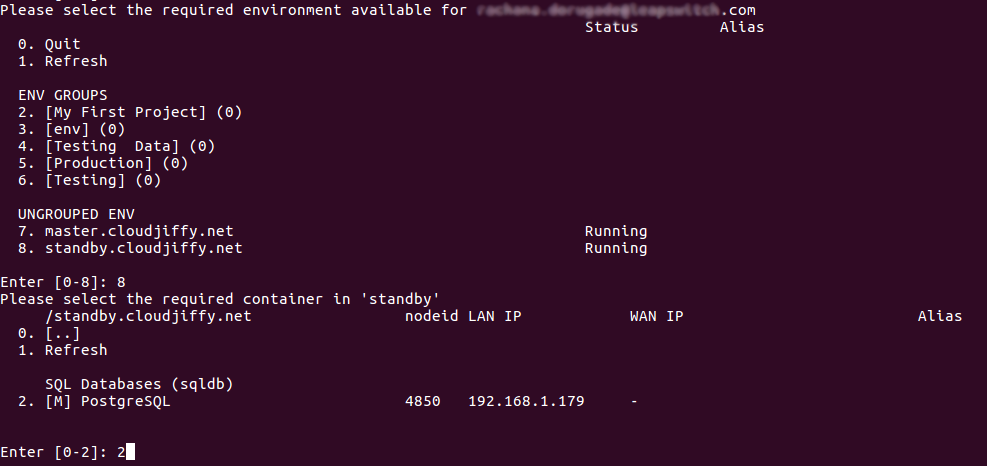
Access the environment with the standby DB server via SSH in the same way you did it for the master one:
Just after you’ve entered the DB container you need to stop it:
sudo service PostgreSQL stop then remove the old database with the following command:
rm -rf /var/lib/pgsql/data/*Copy a new database from the master server:
pg_basebackup -U webadmin -R -D /var/lib/pgsql/data/ –host={master_IP_address} –port=5432
Note: you should substitute the {master_IP_address} value with the IP address of your master PostgreSQL server.

To complete the configuration of standby DB switch back to the BitssCloud dashboard and press the Config icon for the PostgreSQL server in the standby environment.

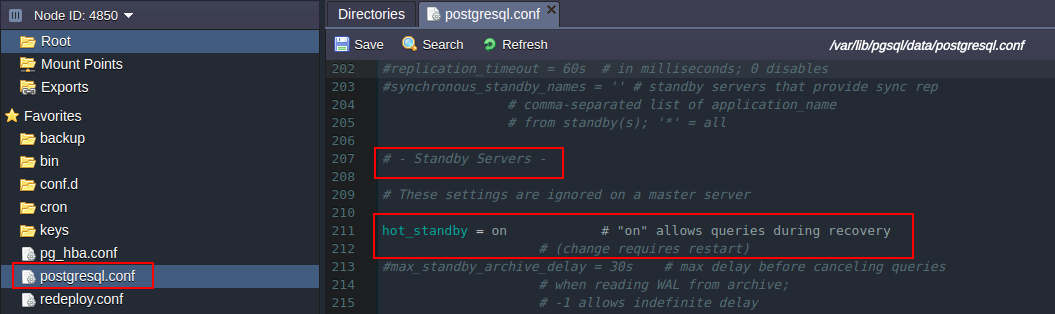
In the opened Configuration manager locate the PostgreSQL.conf file in the conf directory, uncomment the hot_standby = offparameter in the Standby Servers section, and change its value to on.
Save the changes you’ve performed. Finally, switch to your SSH console and run the container with slave DB:
sudo service PostgreSQL start

Replication is configured! For now, let’s check everything works fine.
Results Checking
Open the phpPgAdmin panel for your master database by clicking the Open in browser button next to it.
Log in with the database credentials you’ve got via email earlier and create a new database.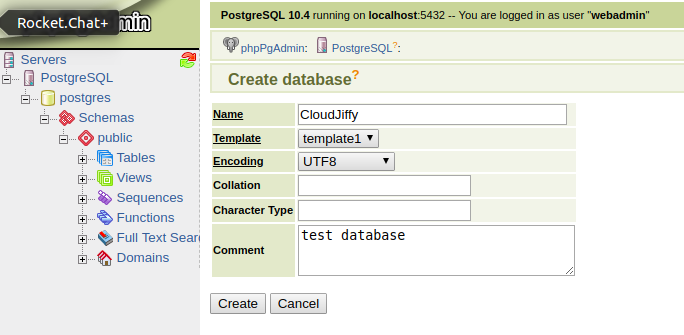
Then you should open the admin panel of your standby database server (in the same way as for the master one) and check if your new database was replicated successfully. 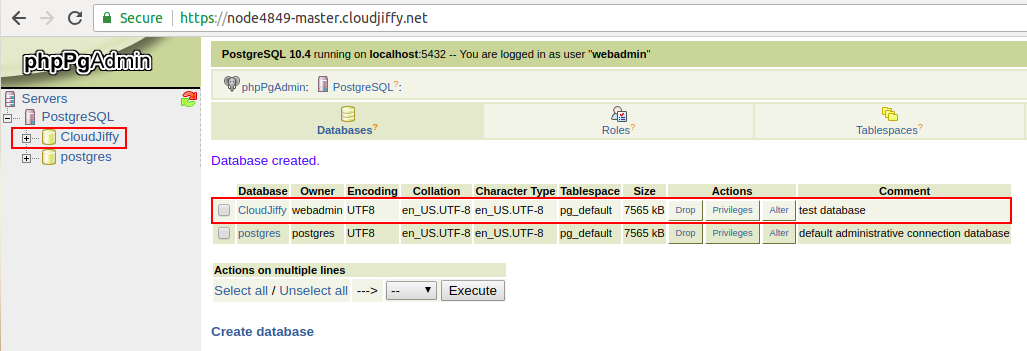
NOTE: as we’ve copied all the data and configurations from the master PG server to the standby PG server, credentials for admin access to the standby database became the same as to the masters.
That’s all. You’ve got a PostgreSQL highly available database cluster. Enjoy!